
Tricking a Maytag Bravos Washer
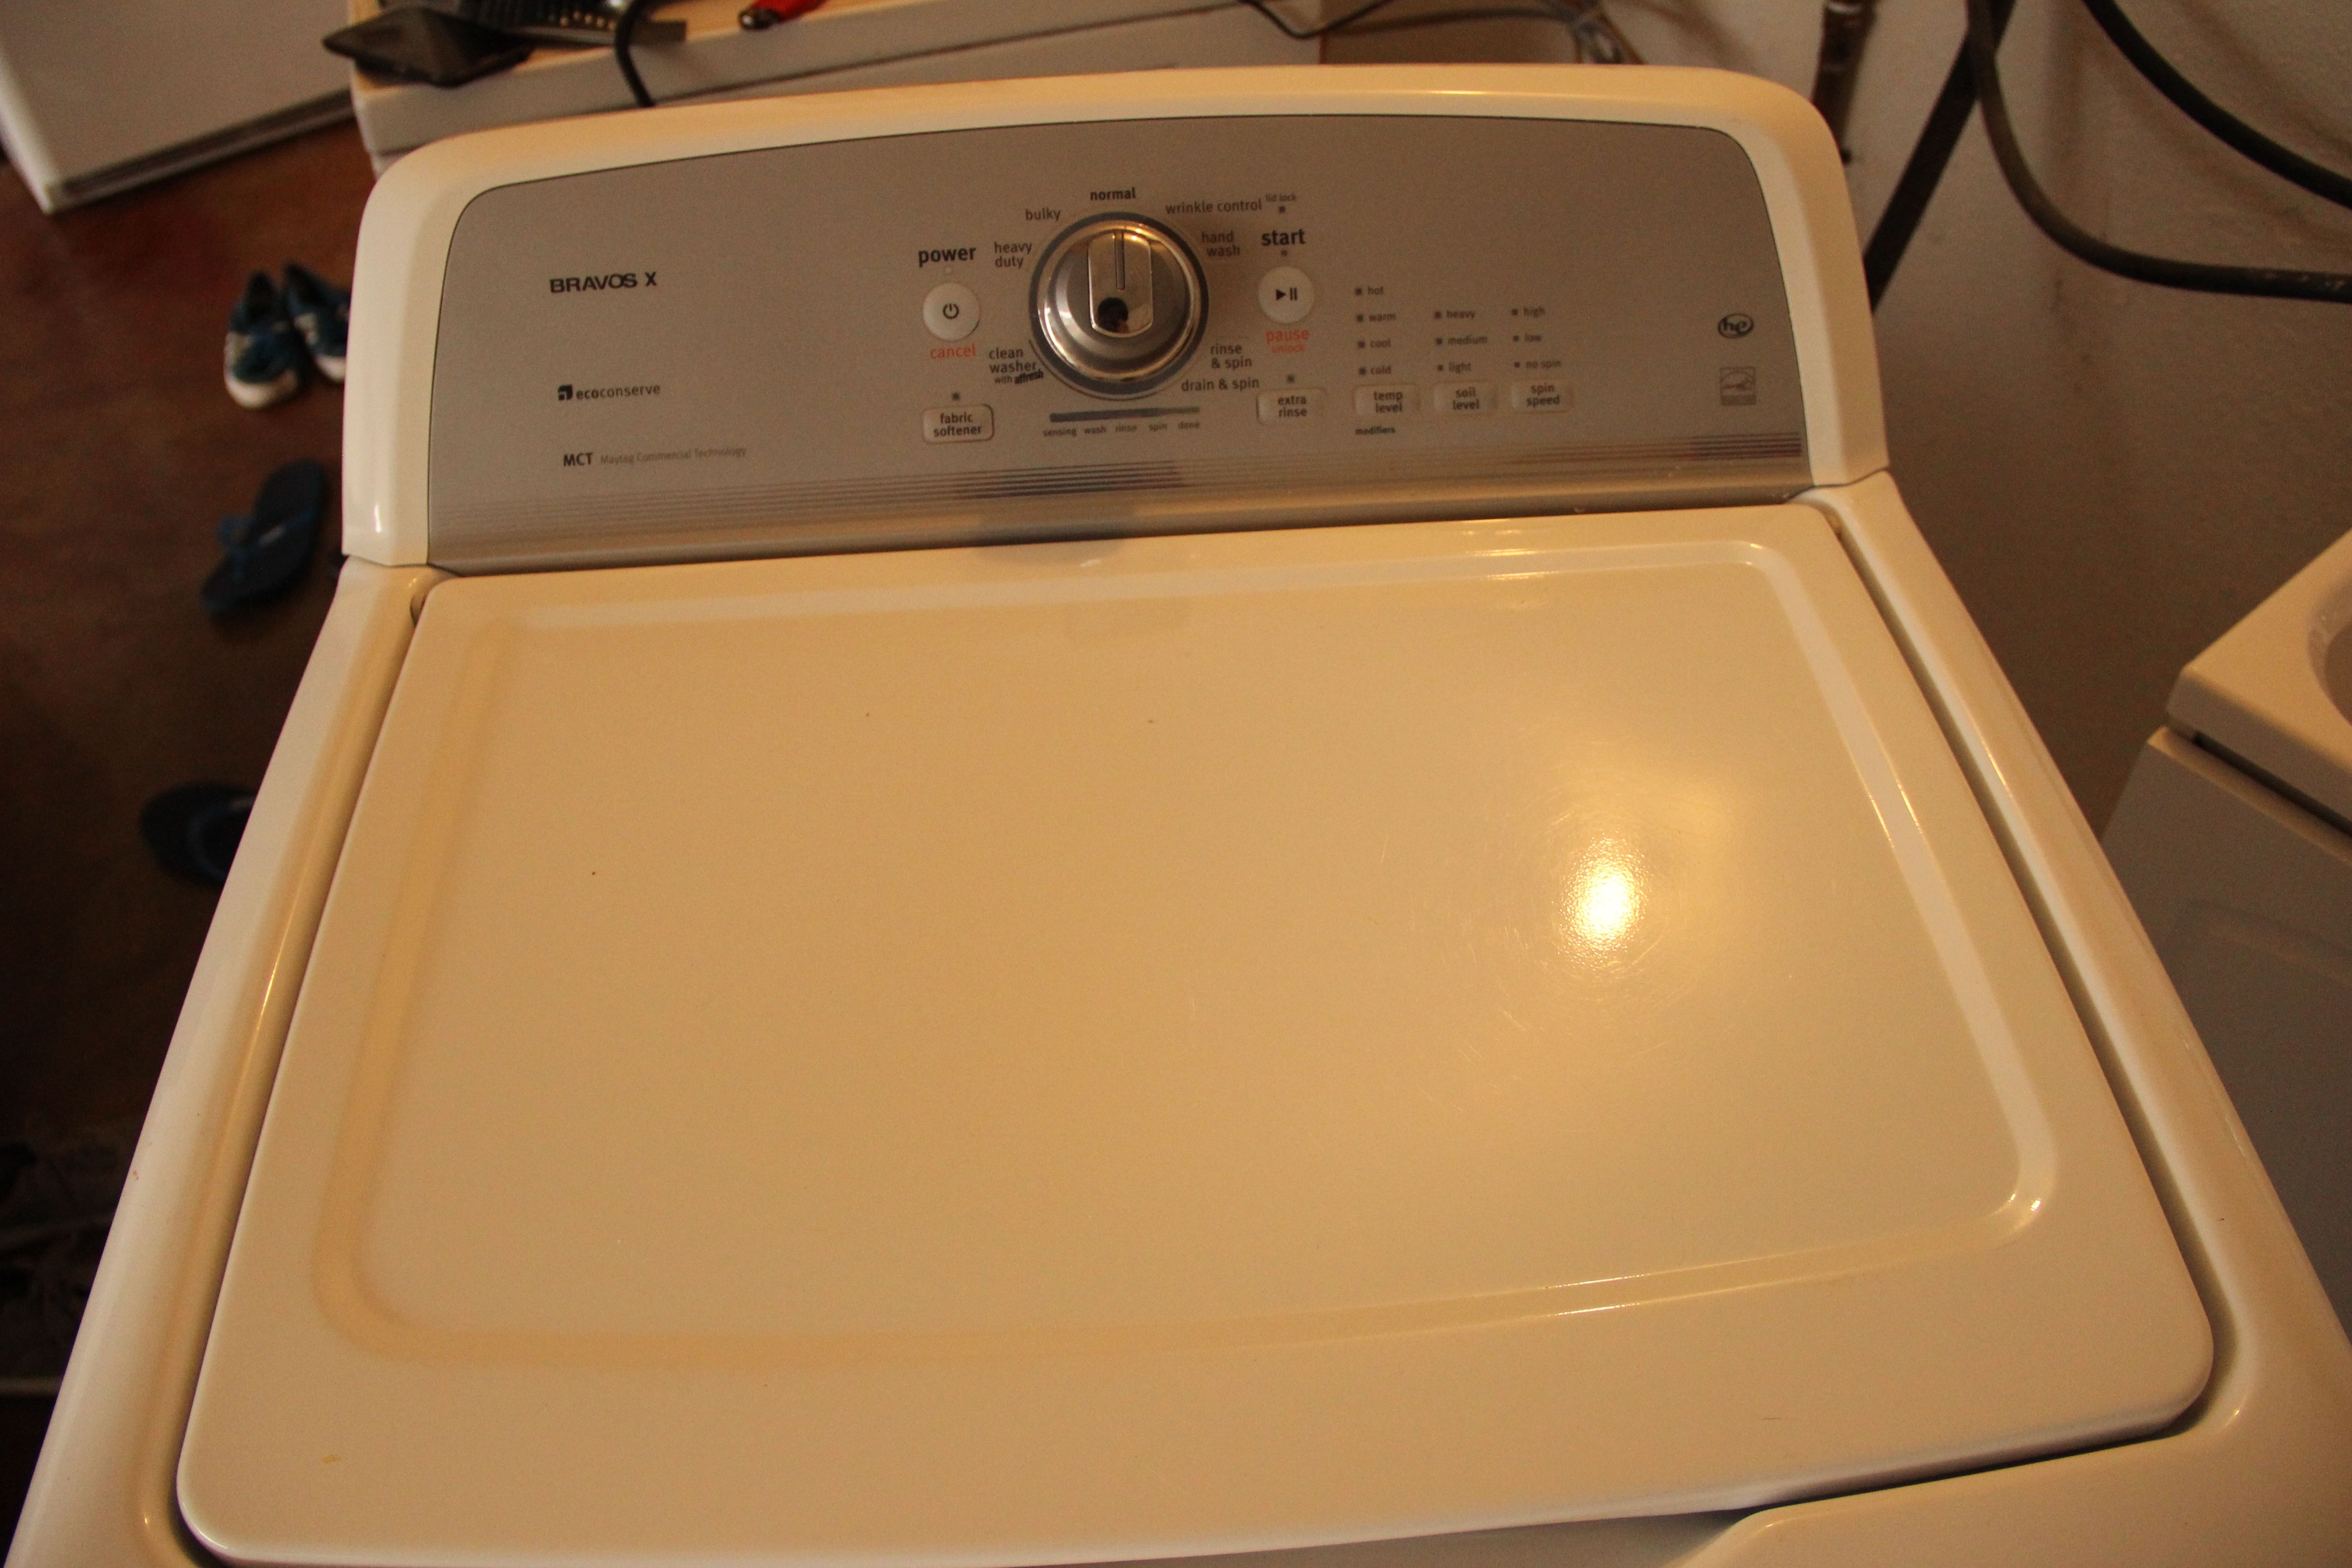
Recently, the lid lock mechanism on my washing machine at home failed meaning that I now had an excuse to let laundry pile up in my room! After scouring the web for a bit, I found out that this issue wasn’t too rare with this particular family of washers. My particular washer model was MVWX600XW0; it was easy enough to find the lid lock mechanism for it.
After reassuring my mom that I would be able to fix the washer and that she shouldn’t hire the repairman for $65 per half hour without part costs included, I pondered whether or not there was some way to bypass the lid lock mechanism to just get the damn thing to start. There isn’t any real functional part of the lid lock that is required for operation - the washer doesn’t spin at some ridiculous speed (although that might be a seeds for some future projects).
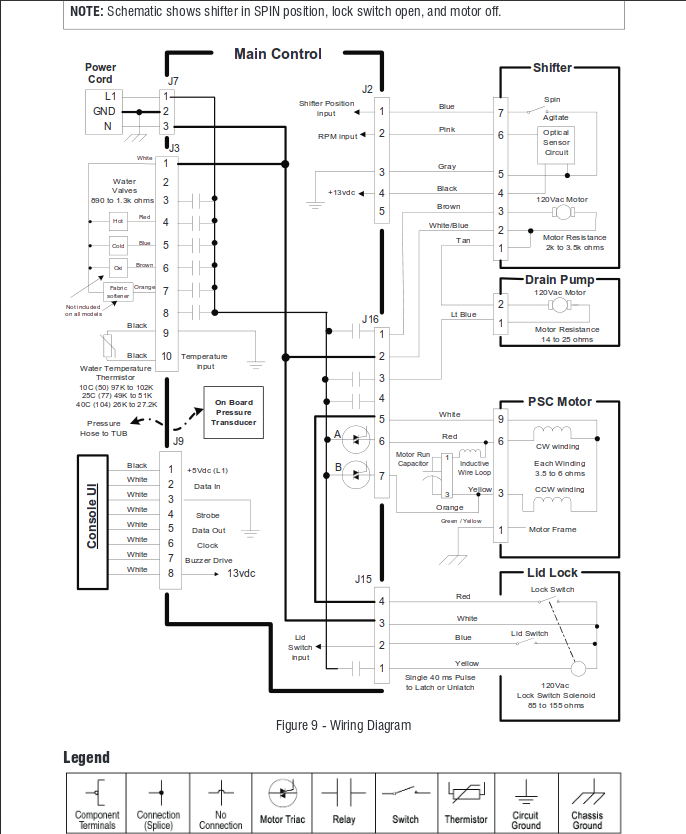
I managed to scrape off a repair manual off the internet for my washer surprisingly; it was fairly detailed as well. The circuit diagram for the entire washer was particularly useful.
The Attempt
According to the circuit diagram, there are two active components that are involved in the lid lock sequence: the lid switch and lid lock components. I suspected that I might be able to trick the controller into thinking that it was locked, when it actually wasn’t. Here is what I was thinking:
- The washer starts, and attempts to lock the lid
- The controller then checks if the lid lock is enabled or not
- If the lid isn’t locked, try again a couple of times
- If it doesn’t work, give up.
So the first thing I tried, was shorting the blue lid switch wire to the white ground wire on the lid component. Surprisingly, this did not work. I suspected that the lid lock wire was part of the control circuit, and that both needed to be engaged for the controller to accept the lid as closed.
The next sequence I attempted was this:
- Ground the lid switch wire
- Leave the lock switch wire ungrounded
- Start the wash sequence
- After the controller has locked the solenoid in the lid lock mechanism, ground the red lock switch
Success
Success! After following this sequence, the washing cycle began. I have to note that if I disconnect the lid lock switch during the cycle, the solenoid makes a sound hinting that it has (attempted to) retract and the cycle pauses.
Afterwords
The whole process actually was a lot easier that I thought it would be. It surprised me how simple the somewhat modern looking washing machine I had was on the inside, and how easy it was to disassemble and replace the part. Here is a shot of the back after I’ve removed the cover:
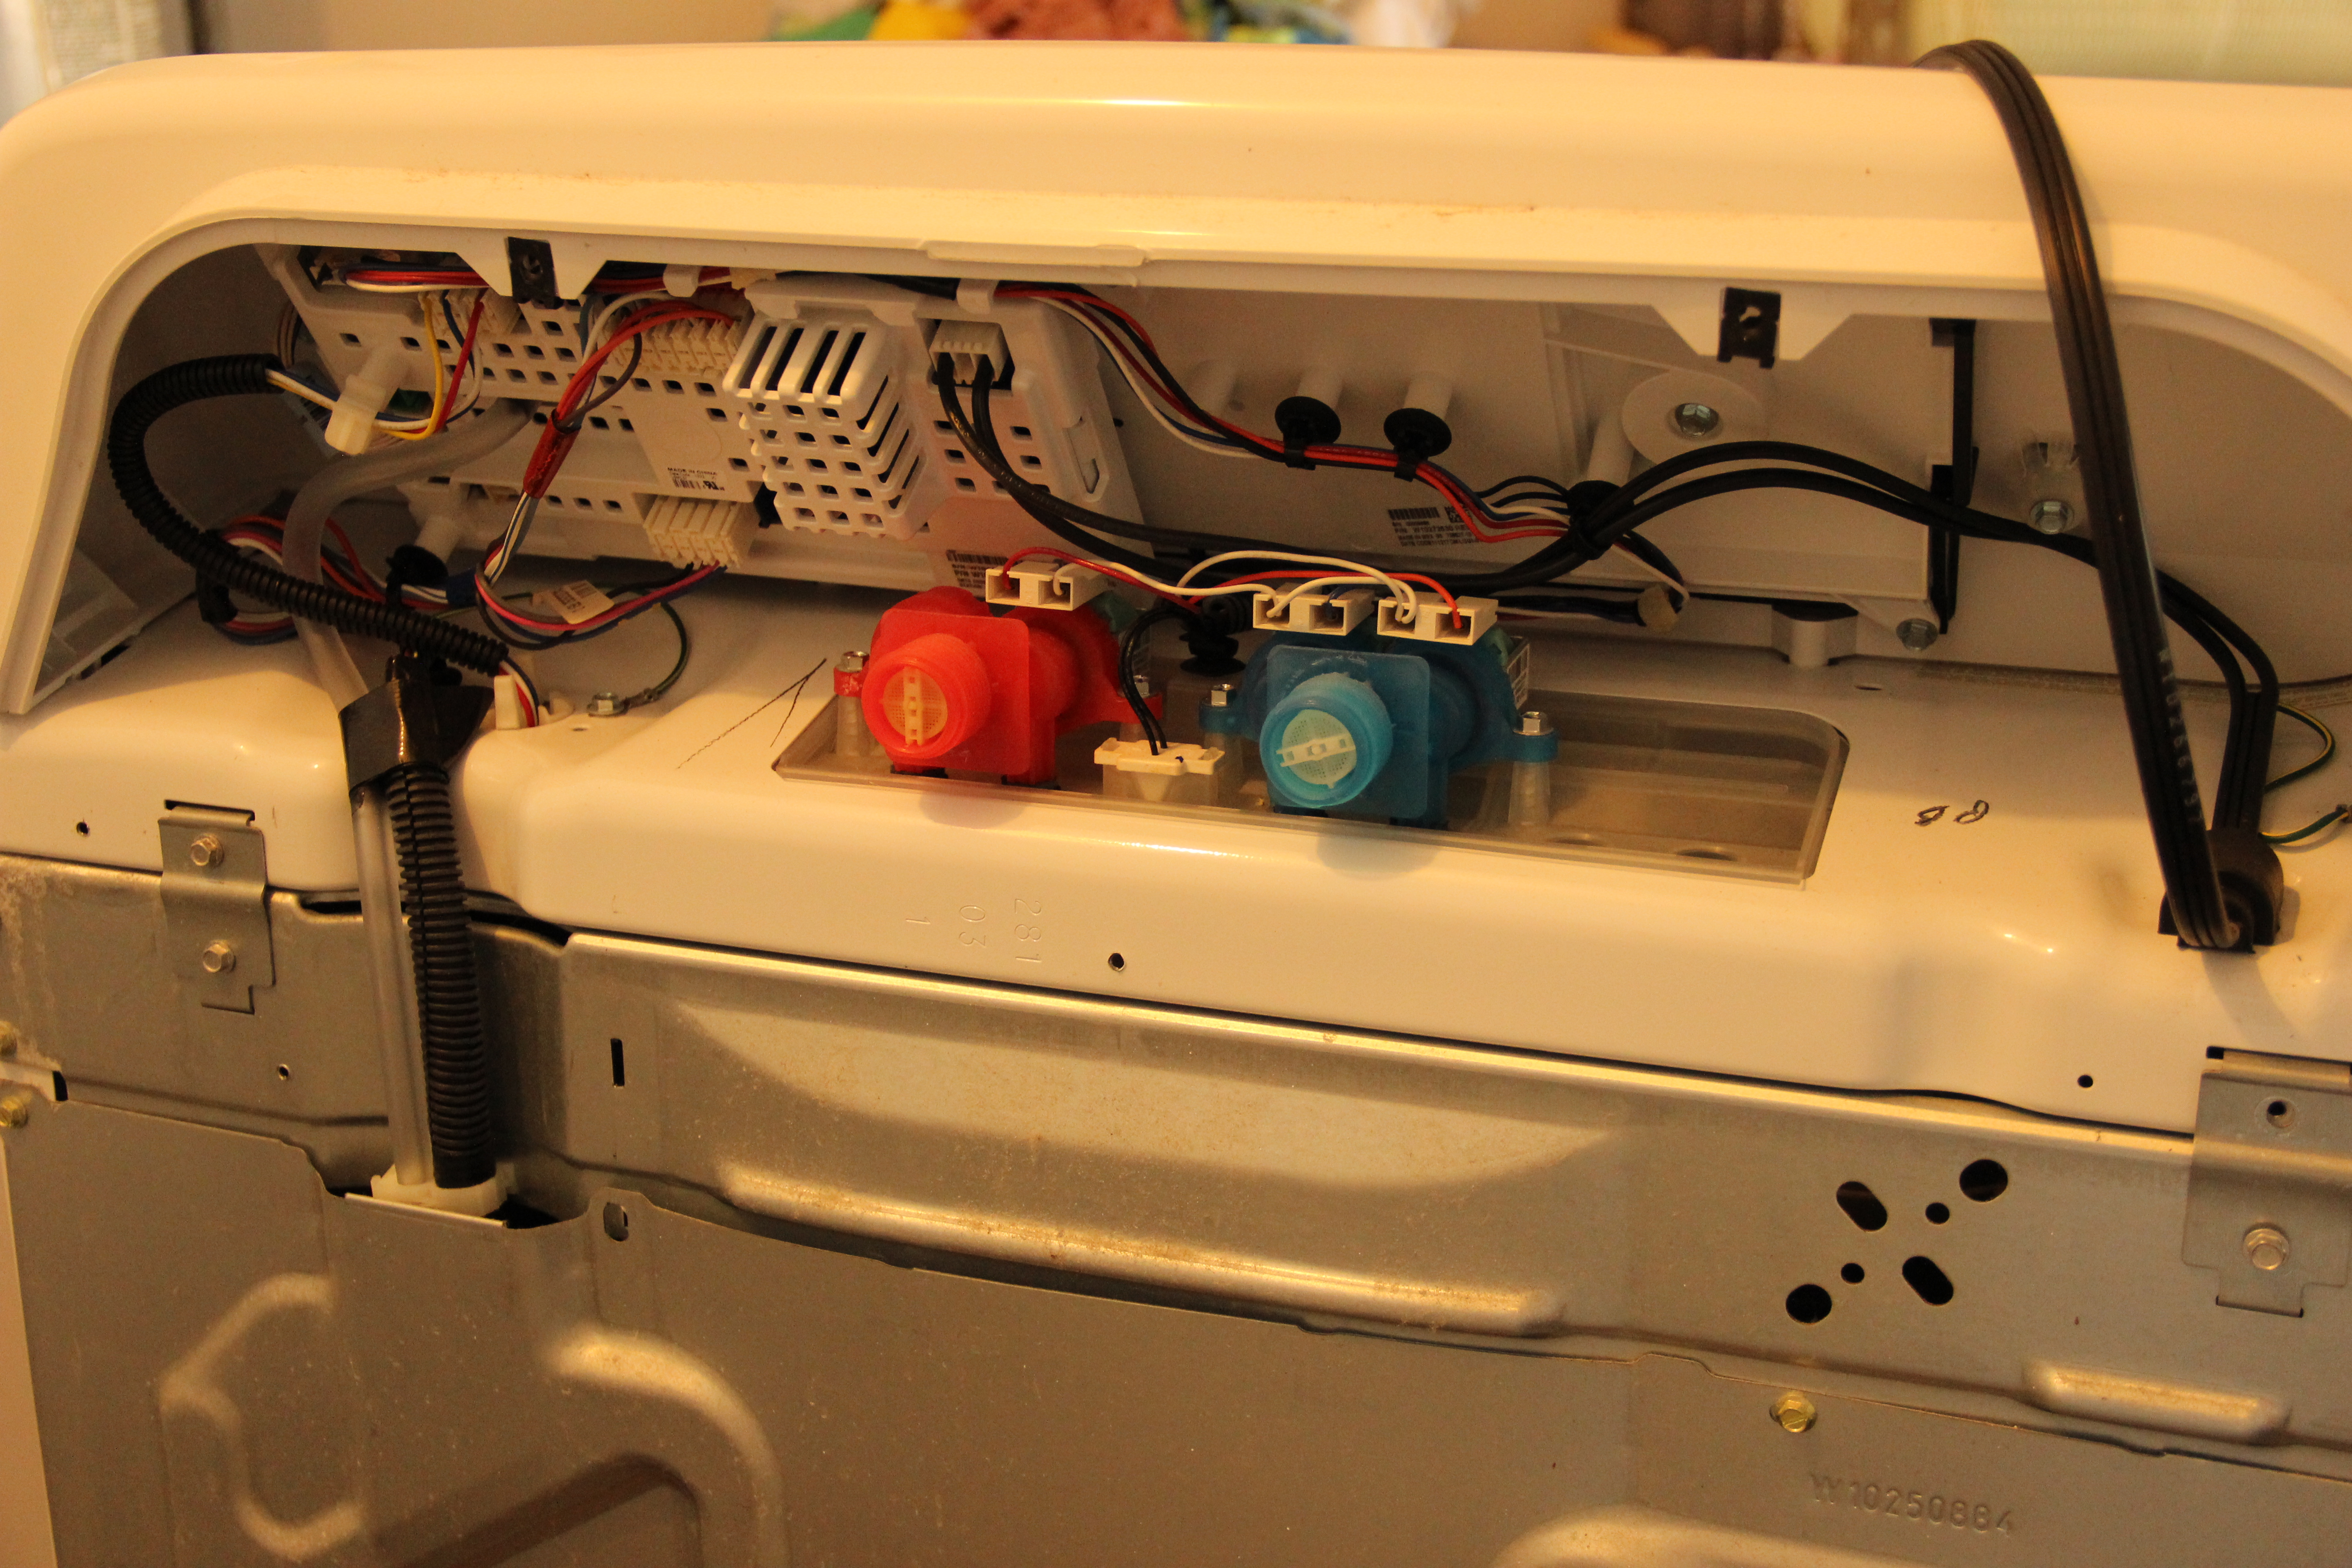
Maybe I’m just used to dealing with cramped parts, but there was a TON of space to work back there. An interesting observation about simplicity can be made here: if it works, it works! I wish every appliance or electronic device came with a manual; hacking devices would be a whole lot easier, although some of the fun might be lost.